Where are my Photos?

Sunday, March 31, 2013

Time Lapse - Night Sky

We went bush camping again for a couple of nights over Easter.

I was keen to try our the new CamRanger (CR) with the 1D-X doing some time-lapse photography.

One of the great things about the CR is the ability to view the image live on the iPhone, so getting focus is much easier than the sometimes awkward angles you get in to see the screen whilst pointing the lens to the sky.

Hooking the CR up is so simple. Plug the USB into the unit and the camera body. Switch it on, connect the iPhone to the WiFi hotspot created by the CR and volla! live view on the iPhone.

I fitted 24-70mm L Series Canon glass to the Canon big gun and did a couple of test shots to get the right exposure.

I ended up using ISO 8000, F8 to get a 20" exposure. Any shorter than 20 seconds and you need a higher ISO, any longer and the stars stop being dots and start to become lines due to their apparent movement from the earth's rotation. The f8 aperture was to ensure the trees were in focus as well as the stars.

Next step was to dial into the CR app on the iPhone 300 shots 30 seconds apart - thats a 10 second movie at 30 fps covering 150mins of rotation.

Hit start and wait......

150mins is a long time in the cool night. I had a campfire to keep me warm and occupied. If you look carefully in the movie you will see some sections show a reddish hue on the trees - no doubt when a few extra logs went on the fire.

So why isn't the movie 10secs long? A simple but stupid answer. The camera battery went flat. Note to self. Don't do a long time-lapse sequence with a camera battery on half charge.

Anyway the result is pretty pleasing albeit short.

Enjoy.


To produce the movie I export the pics from Aperture to JPG then I use Time-Lapse (available on the app store from Microprojects) to put the pic into a movie. In this instance I have produced the movie in iMovie to add the titles and music etc..

Friday, March 22, 2013

OT - Google Reader Replacement

Up front apologies to my photofile readers but I didn't have anywhere else to post this. I just it might be helpful to any die hard Google Reader (GR) users. Please bear with me while I go off topic.

I've tried 3 of the recommended options for replacing GR when it is pulled on July 1, 2013

First I tried ifttt - this is a really cool service that allows you to create "recipes" which are like web based macros for dealing with information on the web. You can link emails to Evernote to DropBox to Facebook etc... It works reasonably well but not perfect and its a bit clunky as a replacement for GR. I set up an RSS to email recipe which sent an email to a new Gmail account. It posted fine but too many moving parts.

Second I tried theoldreader - not bad. It has the familiar GR feel but is suffering badly at the moment due to high demand. I got sick of waiting.

Lastly I tried feedly - I should have come here first. For an inexplicable reason I didn't want to load another app into my chrome browser. Its a stupid thing I have about keeping this clean. I'm guessing it comes from the bad old windows days when a system would slowly grind to a halt after loading too much stuff onto it - even if you removed the software the system would still run like a dog. Anyway if I can get away with not installing another application I usually will take the pure web alternative.

Well silly me. Feedly (dumb name) works just great. Sure I am taking one big bet that these guys will deliver on the promise to migrate to their own rss api. At the moment they are simply a new front end for GR but they have promised to deliver a stand alone alternative. I'm backing them in to do so.

Oh and BTW the IOS app for feedly looks and works great. It has a bit of a windows 8 feel to it but I like that. I actually think IOS is in desperate need of a refresh but that another post - another day - maybe.

Anyway - "Go Feedly".

Monday, February 11, 2013

Under the Southern Cross - Night Photography

This past weekend we went back to Tassie on business. The place we stayed at was near the Freycinet Peninsular - Coles Bay.

The dominant geological feature are the Hazards, which a bit like Uluru are constantly changing. I was hoping to get shot of a strong orange sunset shining on the Hazards to bring out their natural red colour.

But there was cloud on the western horizon so no strong red sunset.

With a relatively clear southern sky I decided to go back 90 minutes later to get the Hazards as a silhouette against a starry sky including the souther cross.

This was the first night sky picture I had taken with the Canon 1D-X. My only prior experience was with my old 7D where noise is a real problem with higher ISO's.

I attached the Canon 16-35mm F2.8 wide angle lens. Set the ISO to 800 in order to get the exposure I wanted within 30secs. Anything greater than 30secs (with a wide angle lens) and you run the risk of the movement of the earth causing the image of the stars to be stretched rather than dots. At long focal lengths a higher shutter speed is required.

Getting a sharp focus is also a bit tricky in these situations (usually auto focus does not work in these conditions). I was using a gorilla pod which makes this even harder because you need to get down on your hands and knees to see through the view finder. So I use live view and zoom the image on the screen onto a bight star and manually focus. I have since bought a CamRanger which gives full functionality on your iPhone.

I used an aperture of F3.5 this allowed a stop over exposure for the image.

And here are the results.

The Milky Way over Coles Bay Tasmania

Wow! I was blown away by the results. I have bumped the exposure up a fair bit in Aperture but this turned out heaps better than I expected.

See if you can pick out the Southern Cross.

Sunday, January 27, 2013

Melbourne Street Walk

Street photography is not my strong suit. I don't like asking people for a model release and I guess I don't do enough of it to make a difference in my level of skill.

But none of these are reasons to not have a go. So at the encouragement from a mate and with the idea that there is safety in numbers we went into the Melbourne CBD where we both work for a street walk.

Had had ideas of the sort of shots we wanted and knew a few locations, but plans need to be fluid because the city is changing by the second.

We met at Federation Square on a Thursday night so there was plenty going on. It was a hot night in the low 30's (celsius) so lugging gear around was a bit uncomfortable.

I have a Lowpro slingshot which is fine if you don't fill it to capacity. So I lightened the load down to the 1D-X, 24-70 L 2.8, 70-200 L 2.8 II, 2X Extender III and the 16-35mm Wide Angle 2.8.

My mate had a spare Manfrotto Tripod so I used that.

We took some shots of Patrick Dougherty's Stickwork masterpiece but I couldn't get anything I thought was worth keeping.

From there we went to Hosier Lane famous for its graffiti. We spend 30 mins there lots of unique opportunities for photos. The lane is popular with photographers and can get busy - but we had the place to ourselves so we could take our time.

Here's a shot of the famous Joker. I like how the girl in the picture is lost in the graffiti, adding scale and mood. 
Melbourne City

Other shots of Hosier La can be found here.

Next we went to the corner of Lt Collins & Swanston where often you will see street dancers but there was nothing there that night.

We did notice the moon rising over the city so after clicking the 70-200 and 2X Extender on we managed some nice shots of the moon.

Melbourne City

A few metres further up Swanston St we came across some buskers who for two bucks were happy for us to take as many photos as we liked.

These guys were good fun.
Melbourne City

Time was getting on so we took some shots of the museum but nothing worth showing here.

It was a good night and something worth doing again some time.

Thursday, January 17, 2013

12 of 2012's favourite pics

So I notice a few photographer's putting together their best work of 2012.

It's a good exercise that requires a higher level of critique than looking through shots from a particular event.

You also get a chance to review how you have progressing in the craft over a 12 month period - hopefully to be encouraged by a growth in both the taking and the editing of images.

Because I rate each photo at the time of processing my job was a bit easier.

I wanted to reduce my choice to 12 of the best but also maintain diversity in the images.

My choice of 12 also tells the story of my year.

So maybe not my best work but my favourite images of 2012

Here they are in chronological order.

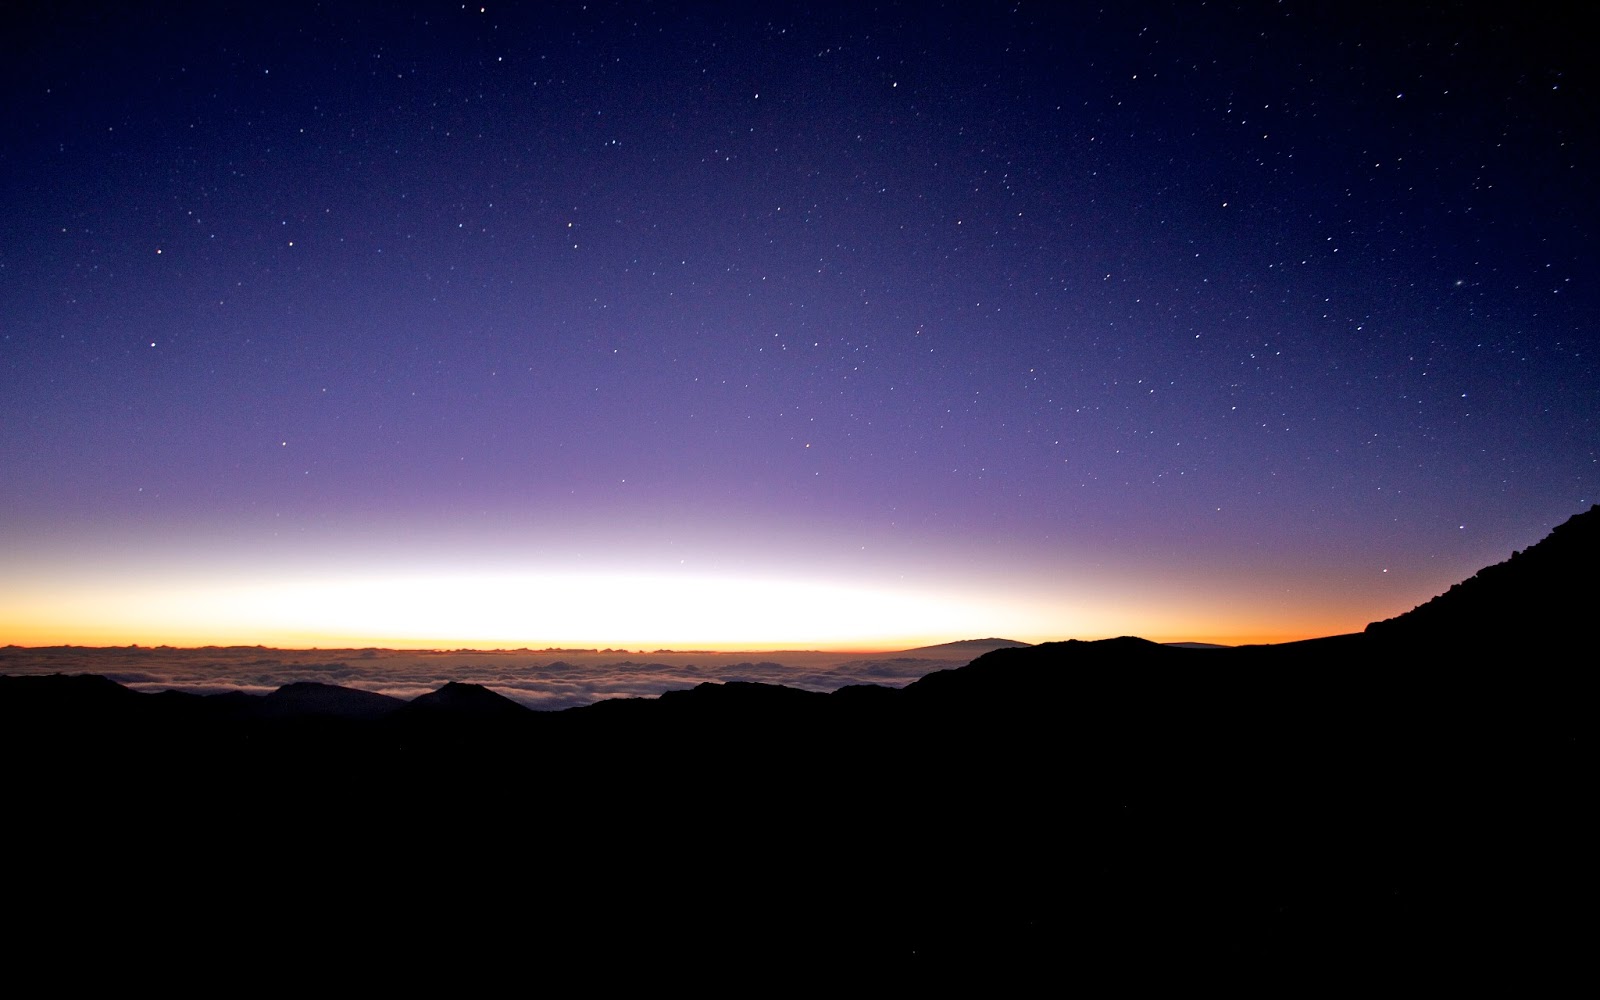
View from the Top - Mt Haleakala, Hawaii pre-dawn 

This photo was taken on a trip to the Melbourne Zoo with my mate Mark who sadly died in 2012. We shared a love of photography and he is sadly missed.

From my backyard with a Canon 7D and a 100-400mm f4-5.6 L IS lens and a 2x Extender III. ISO 200 at 1/80th f20 - The image is cropped.

A lucky shot on the first outing with the Canon 1D-X on burst. Bird catching a fly.

A nice shot capturing a young musician at my daughter's school. Nice low light performance of the Canon 1D-X

I like this pic for several reasons. 1. It shows that photo opportunities are everywhere - this one in the middle of an industrial area near a railway underpass. 2. It tells a story of good and evil.

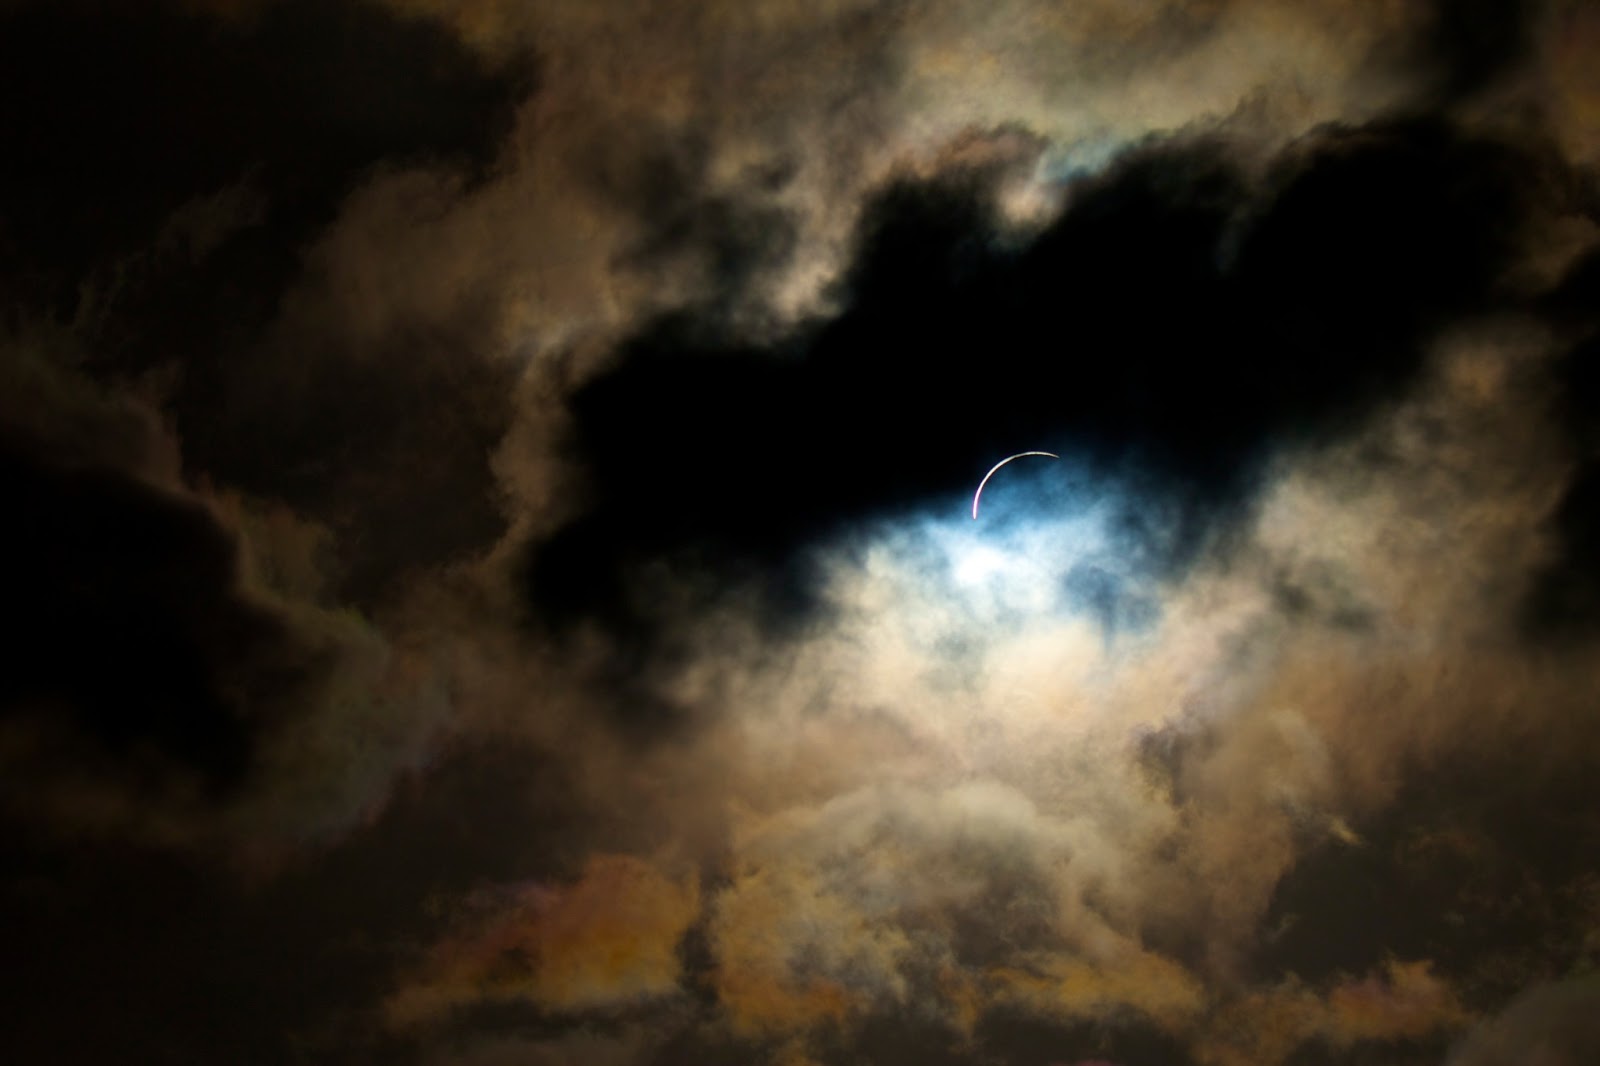
This would have to be one of my very favourites. The November 2012 Solar Eclipse at Port Douglas.

2012 Para Olympics - London
White Rhino at Werribee Open Range Zoo

I just like the light in this shot and it was a move away from my normal editing which tends to bump saturation up. This one backs it off to nice effect.

Cradle Mountain Tasmania

At The Bay. Dawn pic of the Hazards at Coles Bay Tasmania. A beautiful part of the world.

Monday, January 7, 2013

Tasmania - Photographer's Heaven

OK not exactly heaven but given that both Tasmania and the real thing were created by the same being maybe its not as much of a stretch.

My wife is from Tassie so we get back there a bit. This was the first trip with the 1D-X.

Tassie is busy during the summer break, tourism being Australia's smallest state's largest industry.

... and why not. Tassie has simply wonderful and diverse scenery all in a relatively small package.

I like to think of Tassie as a mini version of New Zealand. It has everything New Zealand has except the glaciers all on a smaller scale. The mountains are not as high, the rivers not as wide and the towns not as big, but in its own way Tassie is almost as spectacular as its easterly neighbour.

This year it was so busy that we seriously couldn't hire a car. We tried all the companies and were happy with any 3 door hatch or even a ute but nothing. Finally Mrs Gazza finds a vehicle which we just had to make do with.

a BMW Z4
Pic Specs: Canon 1D-X / Canon 24-70mm f2.8 L / ISO 200 / f2.8 / 1/125
So we were stuck with this little baby for a week and loved it.

Our trip involved a stay in Devonport where the Ferry terminal is and my Mother-in-law. I managed to slip out for a few shots. Got this nice one of the Spirit of Tasmania leaving for the evening voyage back to Melbourne.


Spirit Of Tasmania Leaving Devonport
Pic Specs: Canon 1D-X with 16-35mm f2.8 -- ISO 2000, f2.8, 1/15


And this one near a local Poppy farm.

House and Poppies
I like the desaturated look on this one giving it a slightly dated look.
Pic Specs: Canon 1D-X with 100-400mm L IS f4-5.6 -- ISO 200, f.5.6, 1/320
I love my Mother-in-law but we thought it would be nice to have break so we went the Cradle Mountain for a night.

On the way stopped to get  a few pics of Mount Roland.
Mount Roland
Mt. Roland.
Pic Specs: Canon 1D-X with 16-35mm f2.8 -- ISO 100, f5, 1/160 with Polarizer.


At Cradle Mountain we got some nice pics. Here. Both afternoon and morning shots but the morning was clouded in and I wasn't happy enough with them to publish.

Then for the next 2 nights we stayed at Coles Bay near the Freycinet Peninsular and equally picturesque part of the world.

There are a few views of the Hazards Here

All my Tassie pics from this trip can be found at this link

Enjoy - I did.


Sunday, November 25, 2012

Total Solar Eclipse Photography

I recently had the fantastic experience of being able to view and photograph a Total Solar Eclipse. The November 2012 Eclipse from Port Douglas in Australia.

A little bit of basic info:

A Solar Eclipse is when moon passes between the Sun and Earth casting a shadow on a part of Earth. This shadow follows a path from usually from west to east because from the observer's perspective the Sun is moving faster than the moon. The Shadow is moving at thousands of kilometers per hour across the surface of the earth. It takes approximately 2 hours for the shadow to pass completely over a single fixed location on Earth.

Earth's orbit of the Sun and the Moon's orbit of the earth are not a perfect circle rather they are elliptical (oval shaped) enough so that the apparent sizes of both the Moon and the Sun change. Sometimes the Moon is closer to Earth appearing slightly larger and able to completely cover the the Sun (a Total Solar Eclipse) sometimes the moon is further away and appears smaller than the Sun and does not completely cover the Sun leaving a bright ring. This is an Annular Solar Eclipse.

OK - So what about getting a photo?

The key is to plan well.

The Nov 2012 Total Solar Eclipse was going to take 2 hours from start to finish.

I was hoping to get 5 key shots.
  • First Contact: - The moment just after the moon appears to enter into the sun. 5:44am
  • About half obscure when the moon covers about 50% of the sun. Approx. 6:15am
  • Second Contact: - This at the moment just before Totality when the edge of the sun shines through the edge of the moon. This creates a phenomena called Bailey's Beads or the Diamond Necklace. 6:36am
  • Totality: - The point the Moon totally obscures the Sun. From 6:37am to 6:39am
  • Third Contact: The moment the Sun begins to appear from the other side of the Moon. This creates a similar image to Second Contact. 6:39am
The NASA eclipse website was my starting point. There you can get a schedule of the up and coming events complete with dates, times, locations and maps.

From there I planned a trip to Port Douglas where a work colleague has a unit (condo). Port Douglas was closer to the center line of the path of the shadow and therefore Totality would last longer (2 mins).

One of my big surprises was how popular a Total Eclipse is, according to the local media over 60,000 people came to see this one. This is 4 mile beach at Port Douglas - It is never this popular at 5:45am.
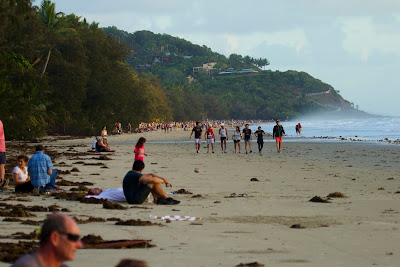
Four Mile Beach Port Douglas

So Tip 1. - Plan ahead.

Next was to think about the gear to take:

I took my Canon 1D-X - its my only body so no debate there. I will say that if you have 2 bodies take them both. There are some interesting shots in the eerie lighting during totality and wider focal lengths. So one on the tripod and one on your shoulder.

The lens I used was a Canon 100-400mm F4.5-5.6 L IS lens. I used it with a 2x Extender III. I used to have a Canon 7D which has a crop sensor (1.6x crop factor) This makes the 400mm focal length on the 7D the same as having a 640mm lens on the full frame 1D-X. To increase the focal length of the 100-400mm lens the 2x Extender gets me to 800mm.

This makes a tripod essential kit for eclipse photography.

Tip 2. Take a tripod.

You also need a filter. I had two but ended up only using one. I have a 77mm circular Black Polymer filter from Thousand Oaks which I didn't use. Instead I use a home made filter using some BAADER AstroSolar Film this should be available from your local telescope supplier. It was interesting to me that traditional camera stores don't carry solar filters. A word of caution. Originally I used this film for the transit of venus earlier this year and made the mistake of taping the film to a clear Cokin filter so I could use my P Series Cokin filter kit. Bad Idea! The film and the filter reflect on each other and you get a double or ghosted image. (See pic below) So this time I made a filter using cardboard tubing and made a cap that fits over the lens. The reason this system works better than the 77mm threaded filter is that during totality you need to remove the filter and shoot with no filter. A threaded filter will take more time and you might lose the shot.

The Black Polymer filter gives the sun a very yellow look while the AstroSolar film give the sun a pinkish to white look.

June 2012 Transit of Venus - The ghosting is from using AstroSolar film over a clear filter. A lesson learned the hard way. 

Tip 3. Get a solar filter and test it before hand.

Planning done, gear packed, tickets booked, alarm set, location scoped - all set.

We were staying 2 mins walk from the location I planned to use. I arrived at about 5:10am before sunrise. Already people were gathering but our part of the beach still had plenty of space.

During the eclipse the lighting was going to change dramatically - I'm using a tripod with a lens that has image stabilisation so it needs to be turned off. (Using IS with a tripod has the opposite effect of moving the image during the time the IS is becoming active.) I chose to use shutter priority (tv) and set the shutter at 1/250th - I would have liked to be faster but with the changing light I would have been under exposed in the darker moments.

The 1D-X allows you to set a maximum ISO and although it is a very capable low light camera I prefer not to let the ISO go over 6400. - Check.

During the eclipse I am continually altering the exposure from under exposed 3 stops to over exposed 3 stops.

The biggest unknown and uncertainty during the shoot is clouds but I knew from my venus transit shots that this might actually give the shot some extra character - which ended up being true.

To top it off - providentially - we had no cloud right at the time of totality and got some great shots.

During Totality the filter comes off and you can shoot without risk of damage to eyes or sensor. I was shooting at f11, ISO 3200 & 1/250th -3 ev

Totality is an amazing event without a camera. You can see the stars and there is this eerie silence, your brain is sending messages that something is weird. If possible everyone should try to experience at least one Total Solar Eclipse in a lifetime. The group next to us had flown in from the USA for this event and obviously didn't share my Christian beliefs, their reaction was to express a desire to sacrifice a chicken. Well thankfully our feathered egg laying friends survived at least until Col. Sanders caught up with them.


The second half of the eclipse was mostly clouded over so I packed up fully satisfied with the results.


So how did they turn out?

Check out the results at this link. vitamirus.me/Eclipse

Here's my favorite.

Photo & Video Sharing by SmugMug